{Picture to come?}
This determinism and stubbornness later came to manifest itself in a desire to alter patterns. I wanted that dress body with that dress sleeve and so on and so on.
At one point I convinced my 4-H leader that I could make a lined dress sleeveless (the seams of the lining would been inside the sleeve) and we were able to figure it out.
As it turns out, this strange determination and desire to do things differently worked out for me. When I sewed my Adelaide dress, I had to do some major reconstruction to the bodice in order to accommodate my body type. And in truth, I really enjoy the challenge.
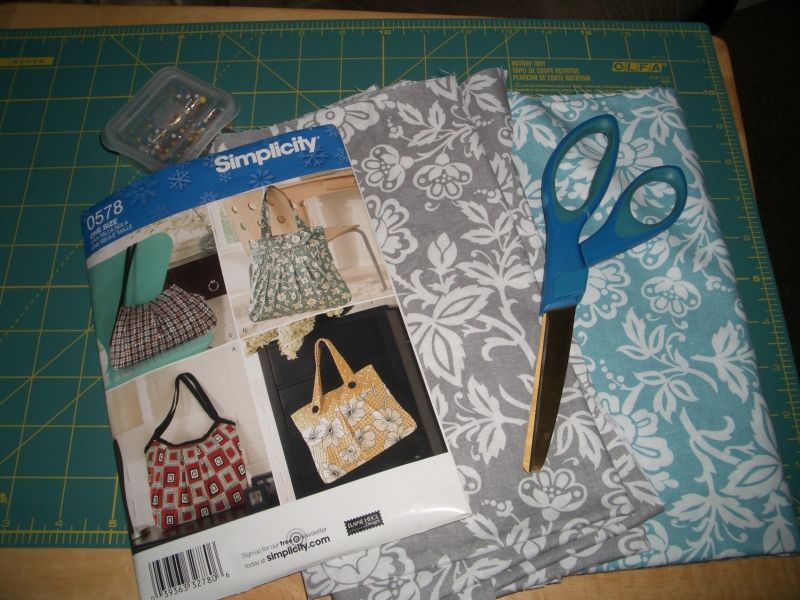
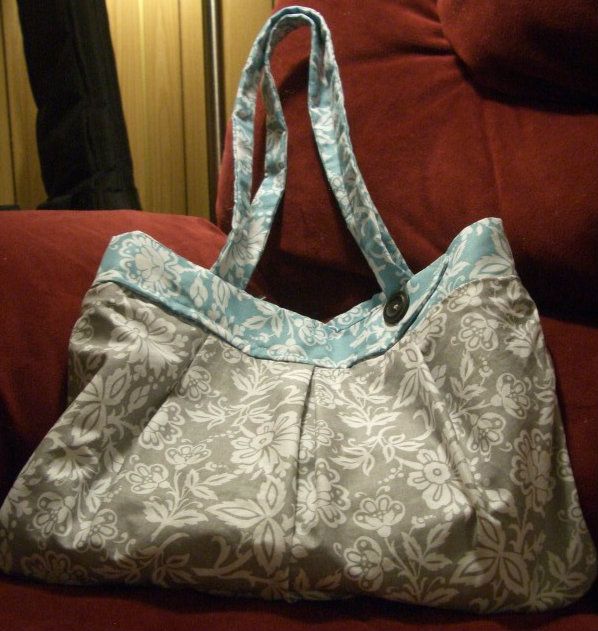
Now, this purse didn't need any changes, however, I really liked the tab style band of bag B, but didn't want another large tote, so I used the band and straps of bag B with the body of bag D.
(My pattern says it is 0578, but it has snowflakes on it, so I think it was at one point a holiday special or some such business. 2685 is the number you would look for on the Simplicity website or at your local big box store.)In fact, the reason I had set out to sew my own purse in the first place was because my three options have been:
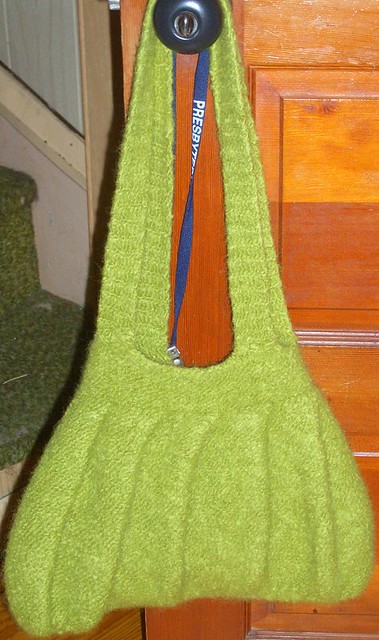
-A hand knit and felted wool bag that has simply been too hot for the warmer months.
-A large brief-case type bag that I got for trips so I could easily carry my netbook with me. Since it has warmed up, I've been lugging this around everyday.
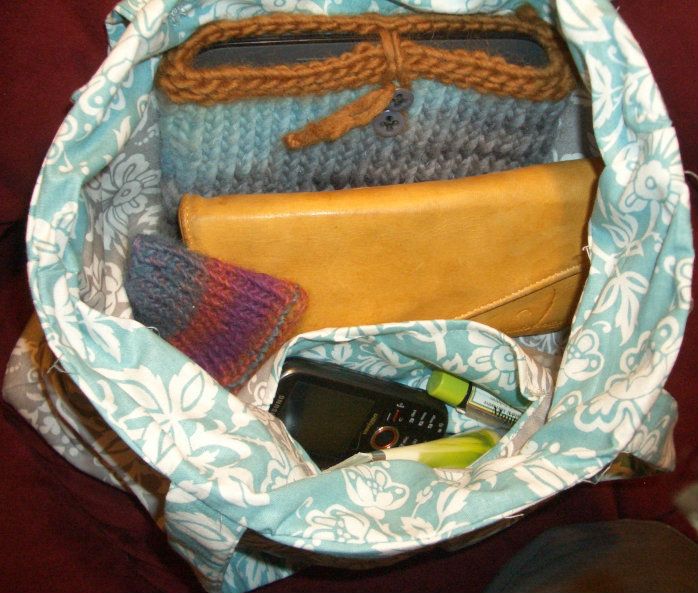
-And a small clutch that won't even allow me to carry the gorgeous deer-skin wallet my grandparents gave me from a deer my grandfather had shot.
I needed something light and medium-sized for the summer. So, I set to work.
I chose to do a similar fabric pattern in contrasting colors.
All in all, I think it worked out well. You can't see it well here, but the tab isn't quite right. The top of the "arrow" is cut off, but that has nothing to do with grafting the two bag pieces together. I read and re-read the instructions and I can't see how they do it as indicated in the pattern without cutting off the top of the arrow like that. There really wasn't enough of a seam allowance to make up for what is lost in turning the band and band lining. There was one other point in the pattern where I read it over and over again and couldn't understand how they were accomplishing what they were indicating. So, I just trucked on and made do.
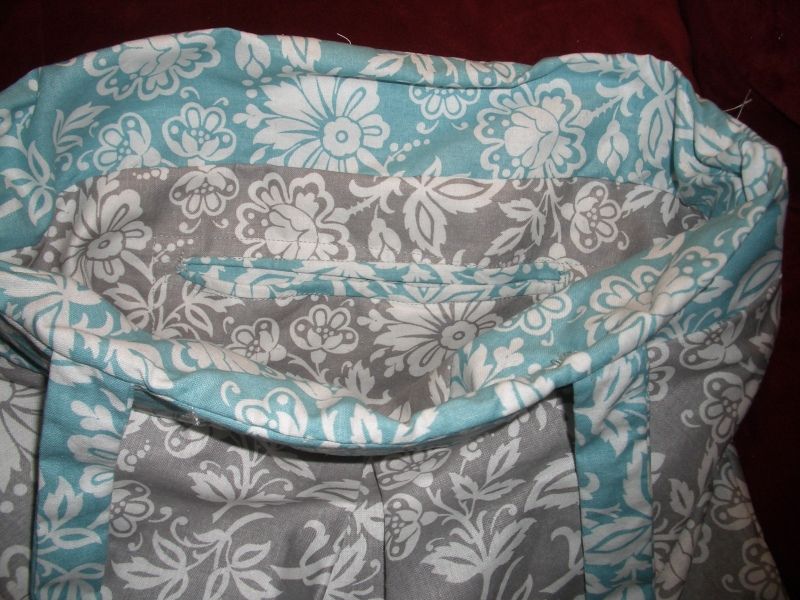
The only other change I made was to do away with the inner pocket zipper. Instead, I made the inner pocket the contrasting color and sewed it so that a little bit of it would be peaking out as a trim around the pocket.
(Please excuse the threads peaking out. I did trim those after taking these photos.)And it is the perfect size for all my everyday needs.

